Easy Smashable Crackers: A Simple Homemade Cracker Recipe
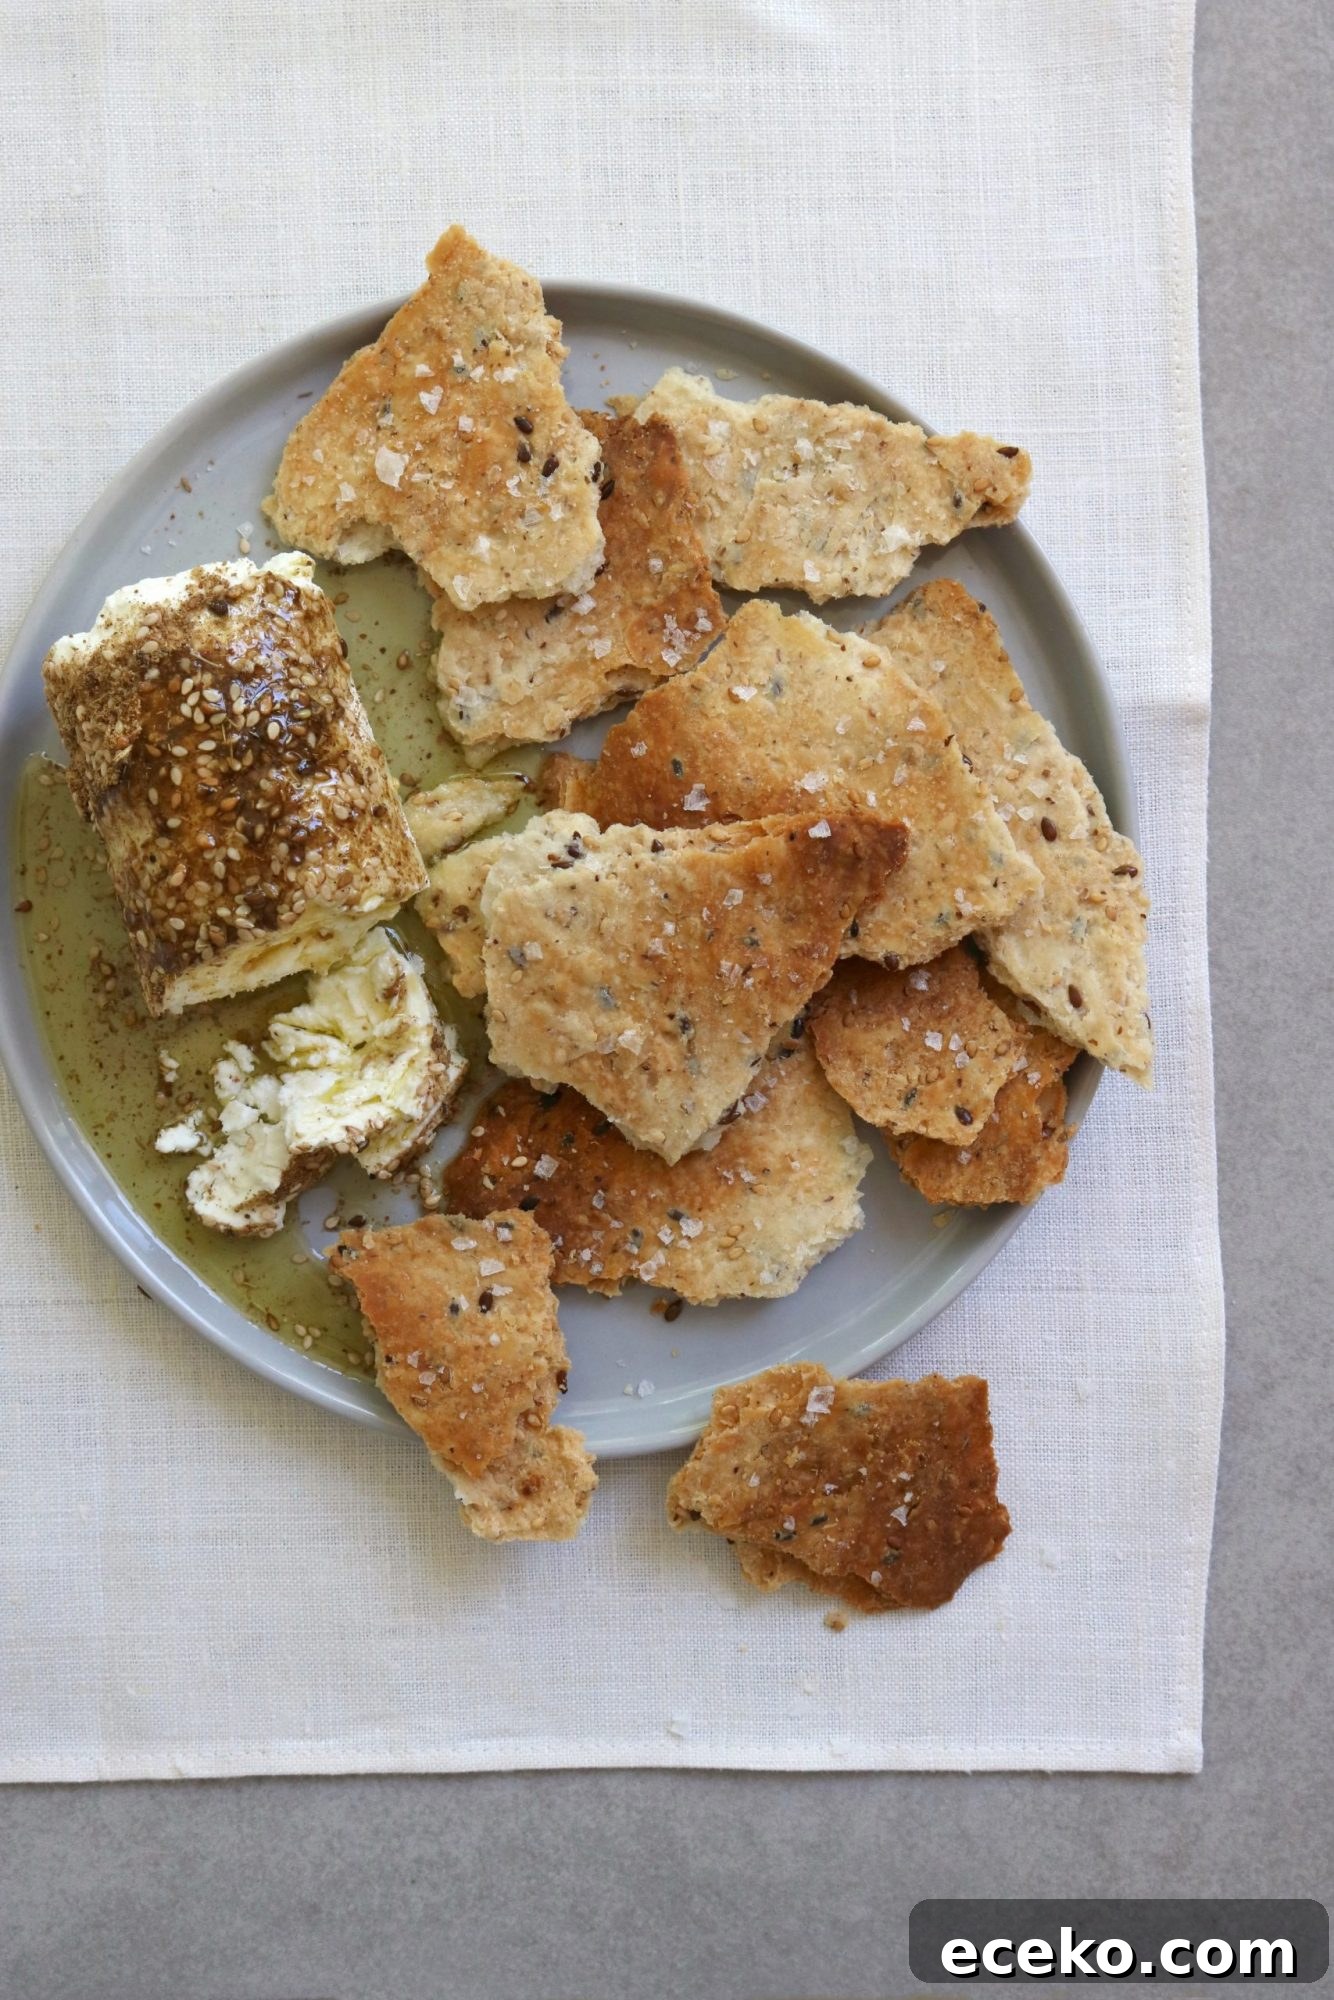
This simple cracker recipe has been a staple in my kitchen for years. It’s the perfect solution when you have cheese but no carrier, when you need something quick for a snack board, or when you want a crunchy, customizable crisp to serve with dips. The method is straightforward: make one large thin cracker, bake it until golden, then break it into rustic pieces. The result is a snappy, toasty cracker with no fuss and endless flavor variations.
Basic proportions are easy to memorize: 1 1/3 cups flour and 1/3 cup each of oil and water. Add salt to taste and then personalize with whatever seasonings you prefer. Za’atar or everything bagel spice are favorites, but finely chopped fresh herbs, dried herbs, ground nuts, seeds, or a sharp grated cheese all work beautifully. Because the dough is so adaptable, these crackers are an excellent blank slate for experimentation.
To make them, roll the dough very thin on a baking sheet. If your sheet has a rim, you can flip it over and use the underside so the raised edges don’t interfere with rolling. Bake the single sheet until it’s nicely golden rather than pale, then transfer to a cutting board or clean surface and break into pieces. Smashing the cracker is satisfying and keeps the final pieces delightfully irregular—no need to worry about perfection.
I used to bake these at higher heat, but I now prefer 375°F because they bake more evenly at that temperature and the texture is reliably crisp. That said, anywhere from 350°F to 425°F will work depending on how thin you roll the dough and how toasty you like your crackers. Thinner dough will bake faster and become crisper; thicker dough will need more time. Watch for a golden color all over—this is the cue that the crackers are done and have a toasty flavor.
Tips for Best Results
- Roll very thin: The thinner you roll, the lighter and crispier the crackers will be. Aim for an even thickness so they bake uniformly.
- Customize the flavor: Sprinkle seeds, coarse salt, or spices on top before baking, or knead herbs and grated cheese into the dough for an infused flavor.
- Even baking: If your sheet is rimmed, consider flipping it to use the flat underside for rolling, or use a rimless baking sheet to avoid uneven edges.
- Color over time: Rely on color more than clock time. Golden brown indicates a toasted, snap-worthy cracker; pale crackers will be soft rather than crisp.
- Store properly: Once completely cooled, store in an airtight container to preserve the crunch. They’ll keep well for several days.
Serving Suggestions
These crackers are ideal for cheese boards, tapas, or simply as an afternoon snack. Their neutral base with customizable toppings means they pair well with soft cheeses, spreads, charcuterie, and dips. Try them with lemony labneh and za’atar, a smear of hummus and toasted sesame seeds, or a slice of sharp cheese and a drizzle of honey for a sweet-savory bite.
Because the recipe is forgiving, it’s also great for experimenting. Mix in finely chopped nuts, swap in part whole-grain flour for added texture, or press a dusting of smoked paprika or sumac on the surface for extra color and depth. Once you master the basic dough and baking cues, you’ll find it easy to produce a variety of cracker styles tailored to your taste and seasonal ingredients.
Simple, adaptable, and reliably delicious, these smashable homemade crackers are an excellent pantry skill. Keep the proportions in mind—1 1/3 cups flour to 1/3 cup oil and 1/3 cup water—and you’ll have a versatile cracker recipe ready whenever you need a crunchy companion for cheeses, spreads, or snacks.